Here are some photos of my installation of the HCE-PKIT from Flight Suits. You can click on the images to enlarge them.
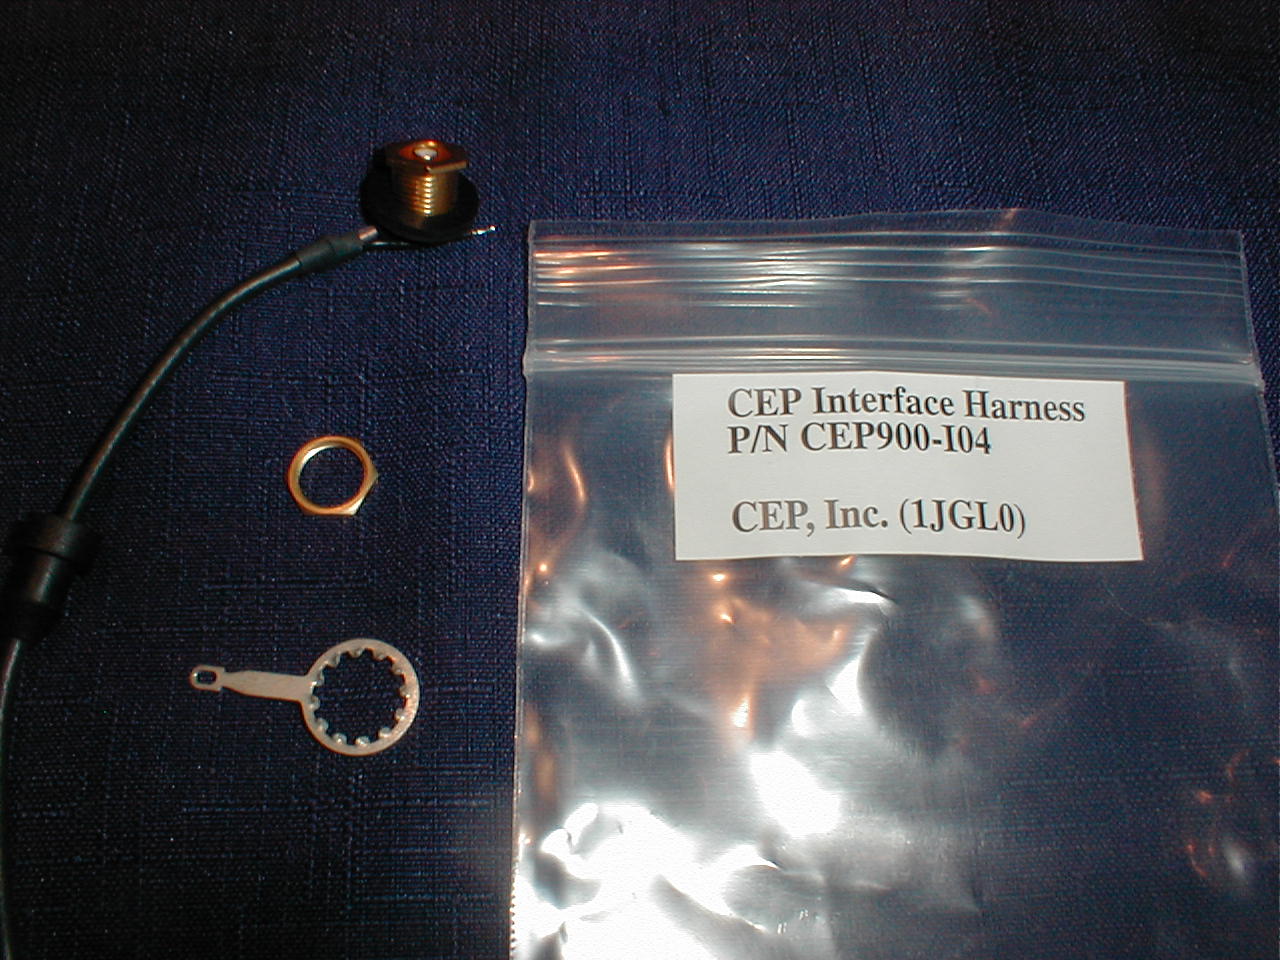
The kit comes with a pair of communications ear plugs (CEP) wired to a connector, a pair of standard ear tips, and hardware for wiring a connector in the helmet.
The CEP are tiny speakers with a threaded tip. Special foam earplugs with a thin plastic tube at the center thread onto the speaker tips. The foam earplugs go into your ear where they keep-out loud noise. The tiny low-power speakers deliver sound directly to your ear.
You will need a soldering iron, solder, drill, and an eyeglass screwdriver.
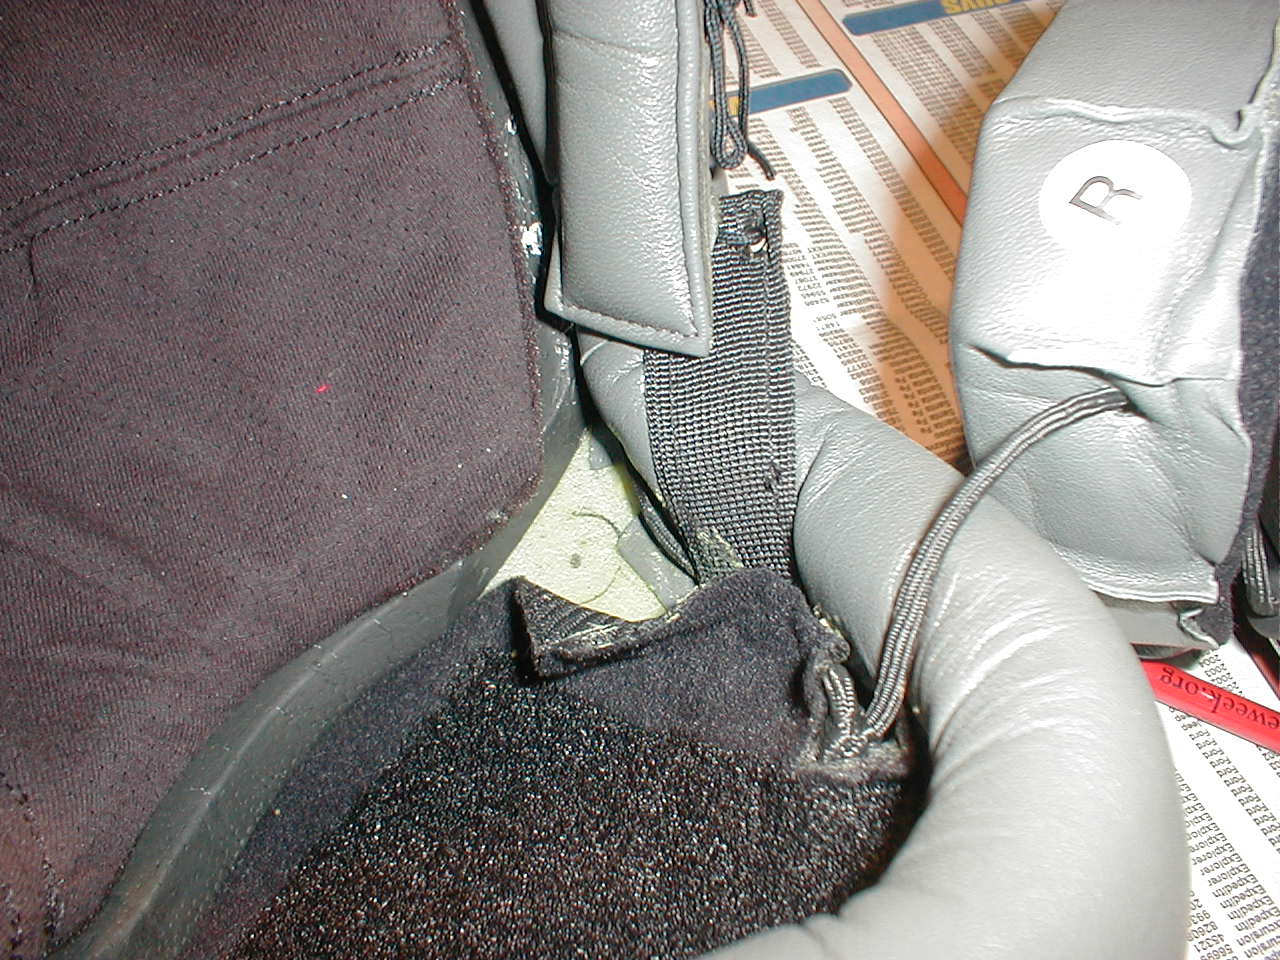
The first step is to remove the right ear cup. This is not too difficult as it is foam held by form pressure backed by velcro.

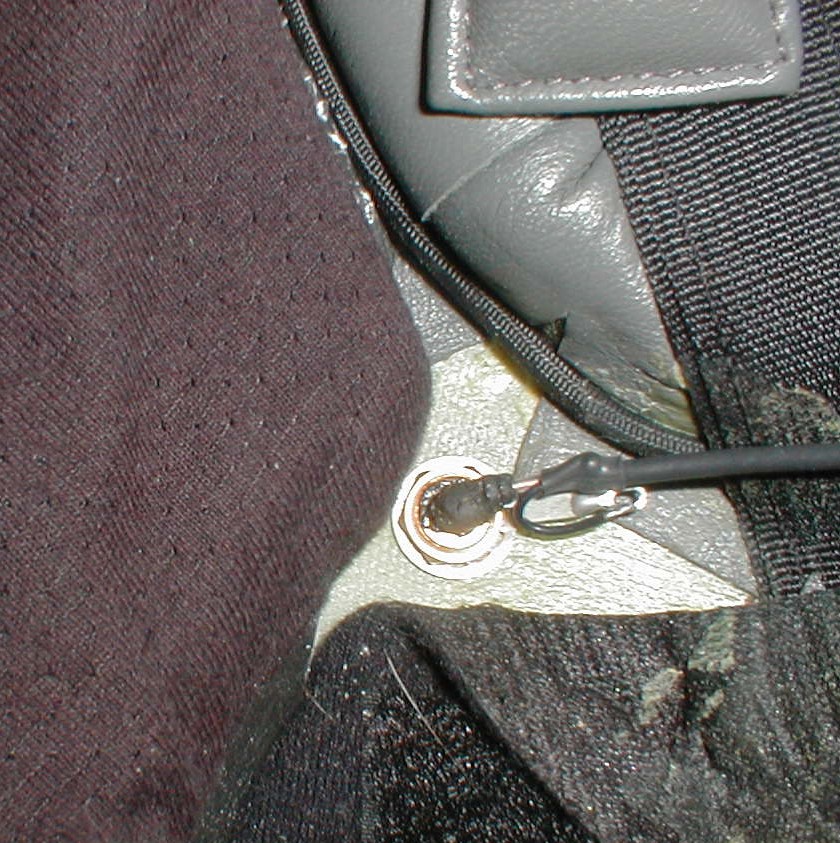
Mark a location for the connector hole. This location works for me. It puts the connector in an easy to reach location at the back of my head. It fits in a corner between the helmet back padding and ear cup padding.
Start the hole with a 1/8 inch bit from the inside to mark the location through to the outside. Use a 3/8 inch drill from the outside to finish. Drilling from the outside left a neater edge on the outside. Thread the connector cable through the hole from the outside, then the connector itself.
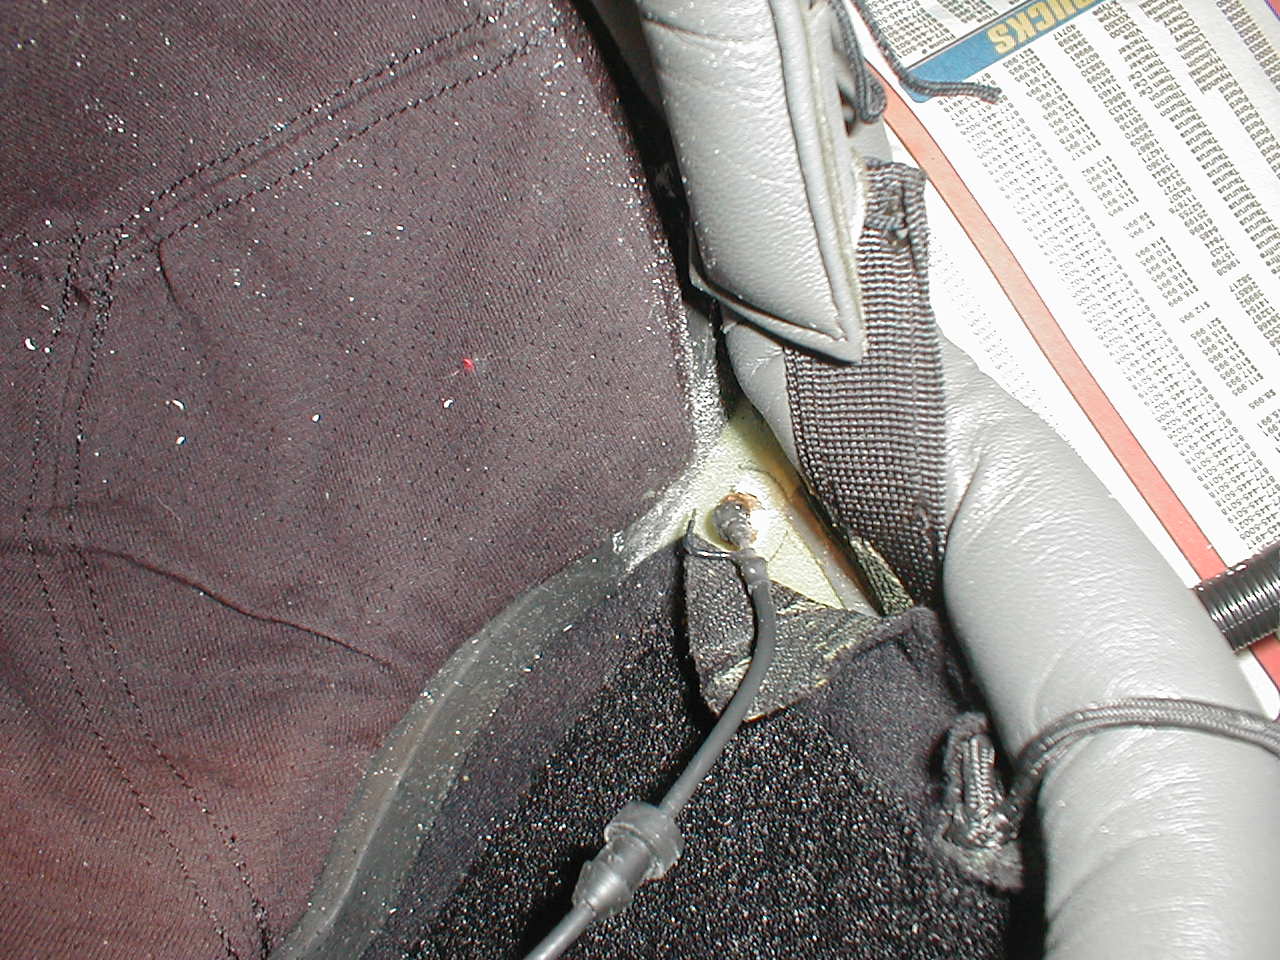
The lock washer and nut barely fit over the strain relief, but will go. Bend up the tab on the lock washer just a bit to give it clearance for solder. Tighten the nut over the lock washer. Ensure that the lock nut tab points out of the way, toward the clear area.
Solder the free lead to the lock washer for ground. Then flatten it down against the helmet.
Thread the cable along the existing lead through the ear foam and into the plastic ear cup. I found it helpful to tape it to the existing lead to pull it through the foam.
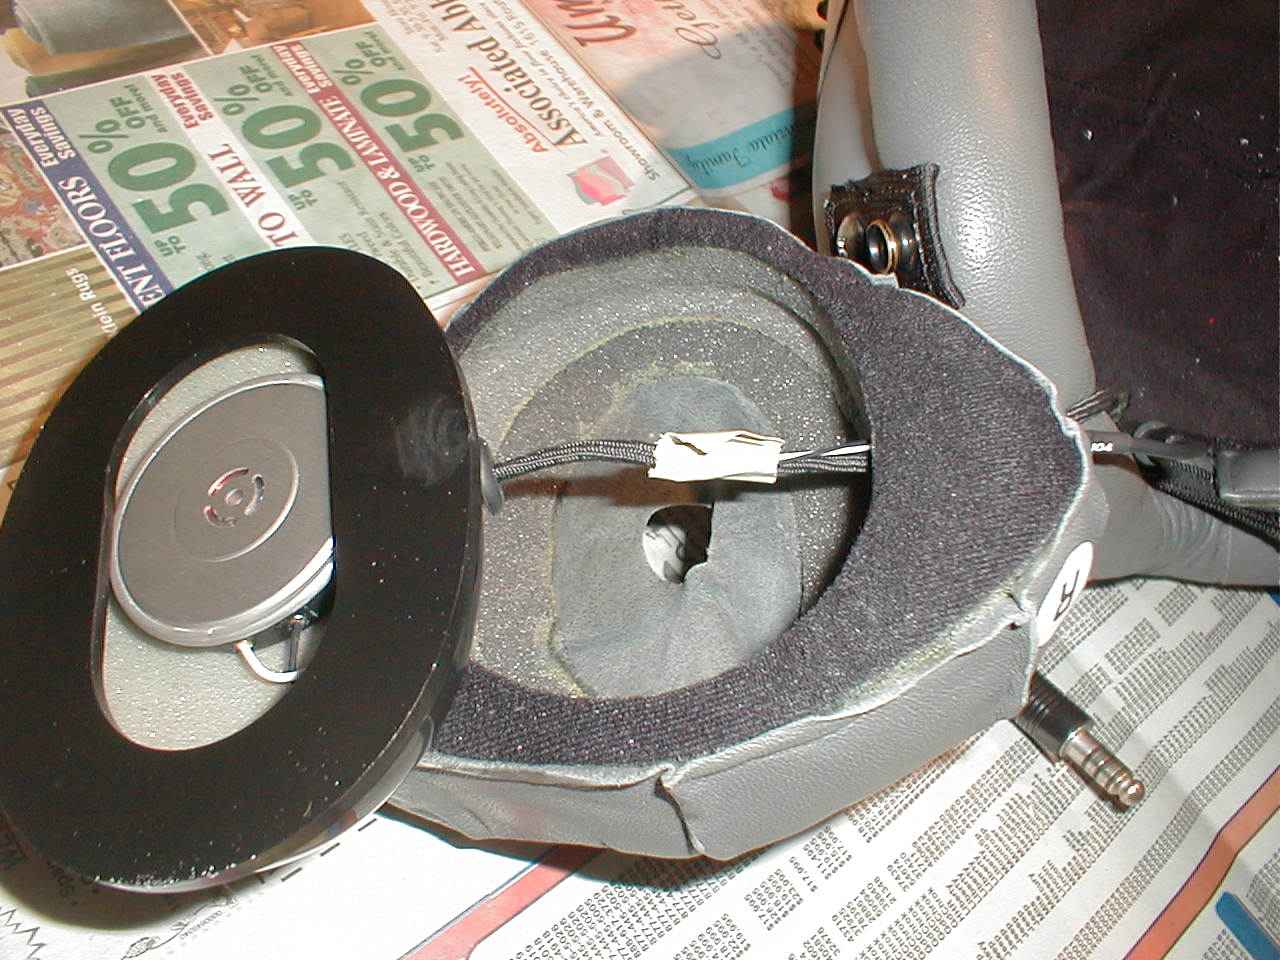
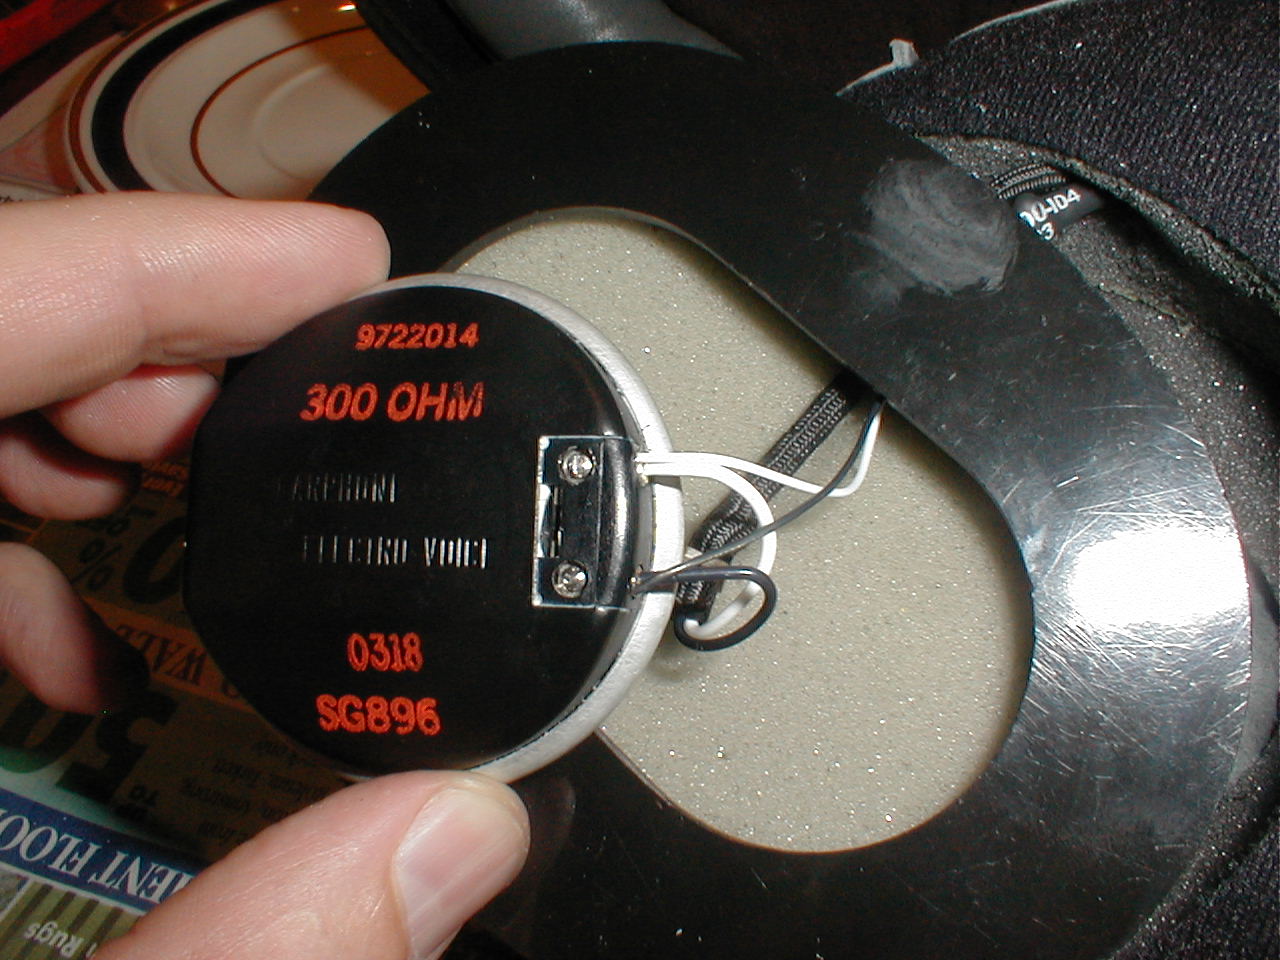
The existing leads on my helmet terminated in little bullet shaped ends that fit inside cylinders in the speaker, held with tiny screws. There is no strain on these leads.
I didn't do anything fancy here. First loosen the screw and remove the exising lead. Then merely place the bare wire CEP lead against the end of the existing lead and insert them together into the speaker. Tighten the screw and it's done. You will need a tiny eyeglass screwdriver.
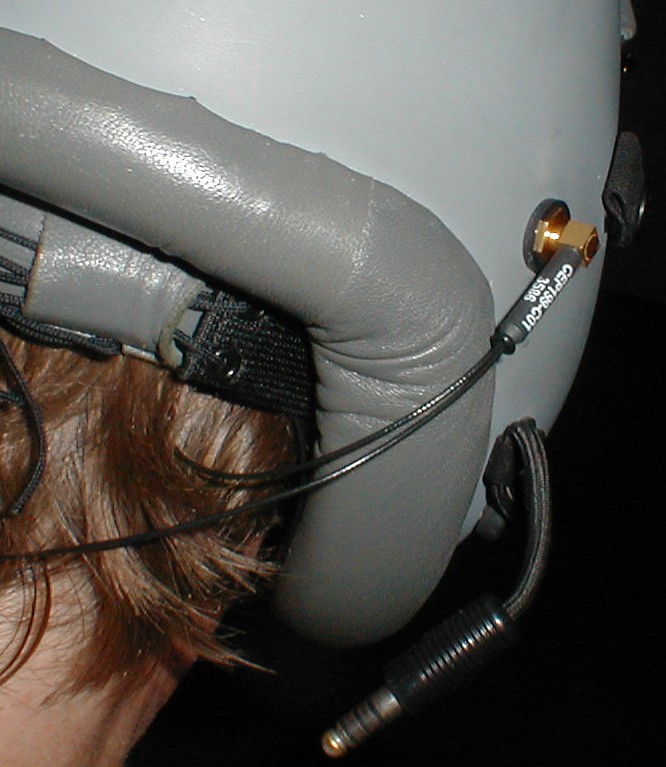
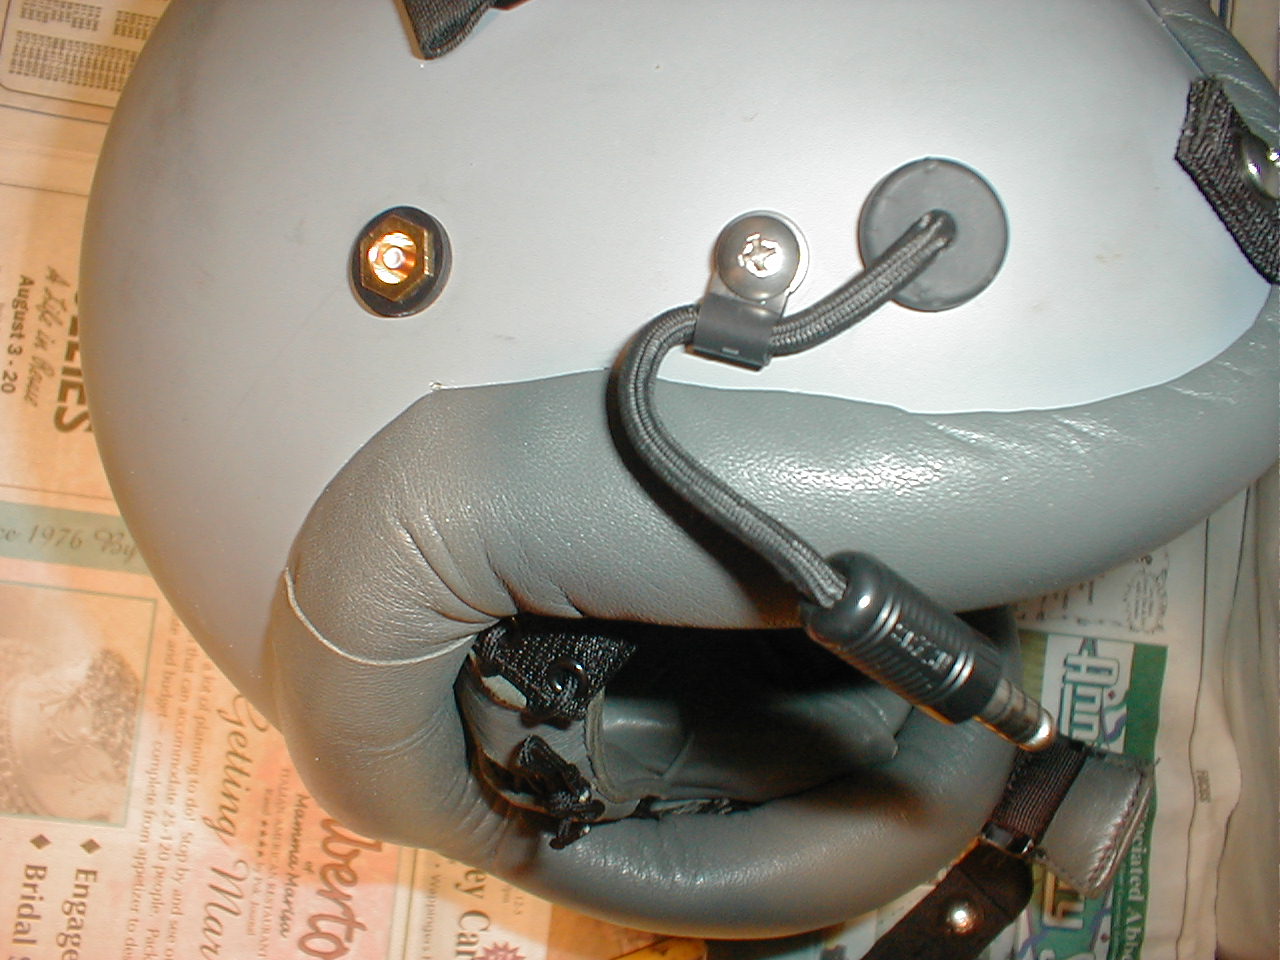
Here is a picture of the installed connector after replacing the ear cup and foam in the right ear. The job is complete.
Here is the helmet worn with the CEP earpieces. The wires are thin but sturdy. They want to remain in the tight coil required to fit them in the little cup holder provided. Stretch them gently before putting them behind your head and making the ear insertions.
The instructions for ear insertion that come with the unit are good. I have found that, with the summer heat, compressing the foam before insertion is useless. The foam springs back to shape too quickly when it is warm. Instead I just apply light pressure to insert the soft ends into my ear with one hand while stretching my ear open with the other hand. As it gets cooler, I definitely have to compress them before putting them in my ear.
At first the wires and ends were very uncomfortable with the helmet on. The helmet put pressure on the CEP backs and wires, hurting my ear. It took a few wearings to find the right angle for the wire coming out of the CEP backs. You have to find the valley at the bottom of your ear where the wires can exit without pressing on your ear lobe. With the insertion orientation adjusted they wear comfortably without pressure.
The sound quality is excellent. I can hear my own voice and the voices of people on the radio clearly, as if they are inside my own head. Recently our chapter did some radio critiquing. In the past I've had a hard time understanding what the ground critique pilot was saying to me, missing most of it. Now I hear every word. It's great.